Another prepping guide: How you can make bread in a can
06/02/2018 / By Zoey Sky
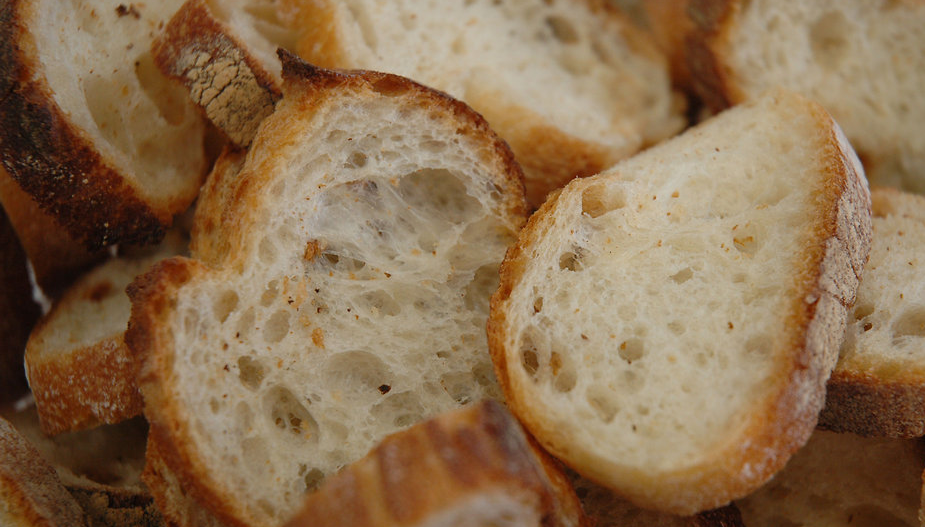
Bread is a favorite when it comes to food staples, and it’s a versatile carbohydrate that can be used to make filling sandwiches. It’s also a handy food item to have because preppers know that even bread can be baked in a can.
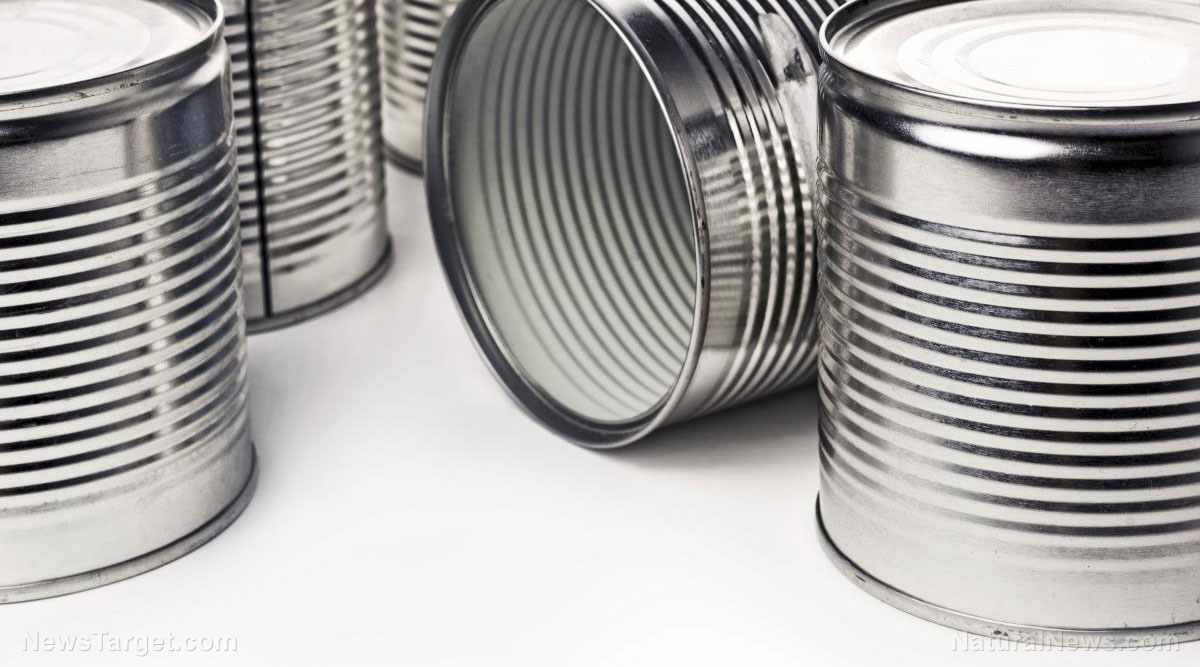
With the right ingredients and a simple coffee can or some smaller cans, you can also try baking some canned bread. (h/t to BioPrepper.com)
Before you start baking, make sure that the cans you’re going to use are free from bisphenol A (BPA), a toxin that you don’t want contaminating your food. Double-check if the cans you have are labeled BPA-free.
Methods and recipes for baking bread in a can
There are three different methods to bake bread in a can:
Baking – For this method, you can bake tin cans on an oven rack. Don’t overfill the can with the dough because it will make a mess in your oven if it spills out over the top.
Cooking over coal – If you have two different-sized cans, you can bake bread directly in a fire. Once the bread dough in the smaller can is ready to bake, put an inch of pebbles or sand at the bottom of the larger can.
Gently lower the smaller can into the larger one, then rest it on the pebbles. Cover the top of the larger can with foil, and put some holes in it for circulation. Leave the larger can buried several inches down the hot coals and let the dough bake until done.
Steaming – To steam bread, you need some foil to create a seal over the top of the can. The can is then placed in a pot that’s filled with water going up about 1/3 the way up the sides of the can. Put the lid on the pot, then bring the water to a boil on a stove top. The steam will slowly cook the bread.
Regardless if you steam bread in a can on a stove top or in an oven, carefully monitor the water level. The water might boil dry, or the bread may burn.
You can start baking using this easy recipe for white bread in a can.
Tools:
- #10 can
- Large bowl
- Small bowl
Ingredients:
- 1 can of evaporated milk
- ½ cup warm water
- 4 ½ cup unbleached flour
- 2 tablespoons (tbsp) oil
- 3 tbsp sugar
- 1 tbsp yeast
- 1 teaspoon (tsp) salt
Recipe:
- In a small bowl, activate the yeast by mixing it in a small bowl with the warm water and 1 tbsp of sugar. Leave it for 10 minutes, or until the mixture is bubbly.
- Mix the remaining ingredients in a large bowl. Once done, stir in the yeast mixture.
- Knead the dough for ten minutes, or until it’s smooth and elastic. Add more flour as needed.
- Grease the can then put the dough in it. Cover the can tightly with some plastic wrap. Let the dough rise in a warm location until the bread is almost at the top of the can.
- Bake the dough at 375 degrees for 50 minutes, or until the bread is browned. Set aside until the can is cool to the touch, then remove the bread. Let the bread cool before slicing.
Here’s another recipe for Boston brown bread, a New England traditional steamed bread. Brown bread, which is called Boston brown bread outside of New England, was often served with Boston baked beans.
Tools:
- 4 large 28-ounce (oz) tomato cans – alternatively, you can use six smaller cans or two larger ones.
- Large bowl
- Whisk
Ingredients:
- 5 eggs
- 1 cup raisins (optional)
- 2 ½ cups buttermilk
- 1 ¾ cup cornmeal
- 2 ¾ cups molasses
- 2 ¼ cups rye flour
- 2 cups whole wheat flour
- 3 tsp baking powder
- 2 ½ tsp baking soda
- 2 ½ tsp salt
- Soft butter – for greasing the cans.
Recipe:
- Whisk all the dry ingredients in the large bowl. Add the wet ingredients, then whisk to combine everything but don’t overmix. The batter should be the consistency of thick pancake batter.
- Fill the cans at least 2/3 of the way, then cover with foil.
- Put the covered cans in a pot on a steamer rack. Add enough water to cover the bottom 1/3 of the cans. Replace the lid on the pot then bring the water to a boil to create steam.
- Steam the cans for at least two hours, but this depends on the size of the cans used. Use a toothpick to check if the bread is done. If the toothpick comes out clean the bread is done. If dough sticks to it, continue steaming. Let the bread cool for an hour before removing from the can/s.
Using these tips and easy recipes, you can start baking your own bread in a can to prepare for any survival scenario.
Learn about other prepping tips and recipes at Preparedness.news.
Sources include:
Tagged Under: baking, baking bread, bread, bread in a can, bug out, canned bread, Collapse, disaster, how to, off grid, preparedness, preparedness and survival, prepper, prepping, SHTF, survival, survival skills

